![]()
| HOME | How to Order |
|
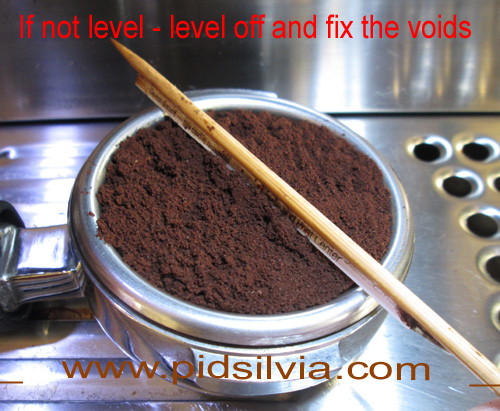
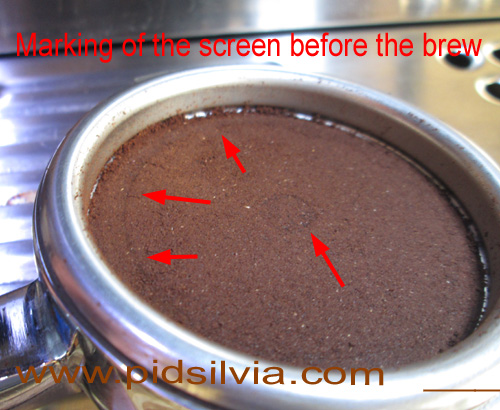
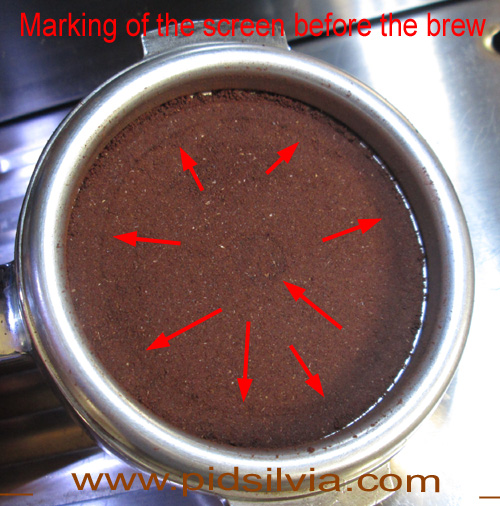
Dosing Technique - Pictures #2 - Back to Dosing Technique - or Back to previous page
1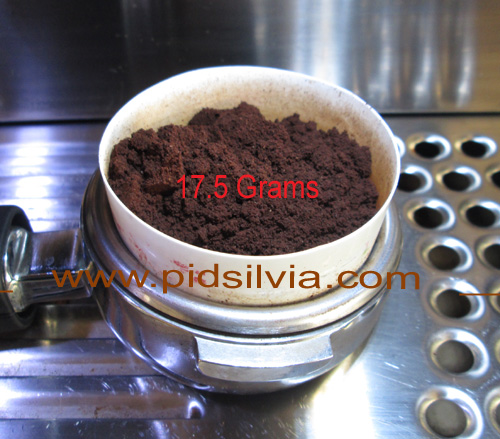
|
2
|
|
3 |
4
|
|
5 |
6
|
|
7 - For the experiment, I removed the Portafilter
for taking the picture and reconnect it again (using the same puck).
|
8 - For the experiment, I removed the Portafilter for
taking the picture and reconnect it again (using the same puck).
|
9 - (using the same puck).
|
10
|
11
|
12
|
13
|
14
|
15
|
16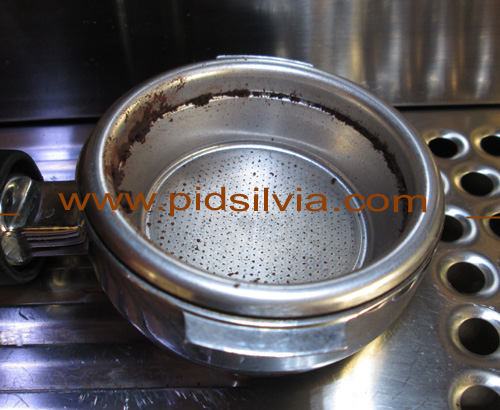
|
|
|